Post-Mitigation Radon Testing: How to Verify Your System Works

What Is Post-Mitigation Radon Testing?
You've taken the responsible step of installing a radon mitigation system in your home. The fan is humming, the pipe runs from your basement through the roof, and the contractor assured you the system would lower your radon levels. But how do you actually know it worked?
That's where post-mitigation radon testing comes in. It's the verification step that closes the loop between installing a mitigation system and confirming it's actually protecting your family from radon exposure. Without it, you're operating on assumption rather than evidence — and when the contaminant in question is the second leading cause of lung cancer in the United States, assumptions aren't good enough.
This guide walks through everything homeowners and home buyers need to know about post-mitigation testing: what it is, why it's required, when to do it, how it works, and what to do if the results aren't what you hoped for.

Understanding Post-Mitigation Radon Testing
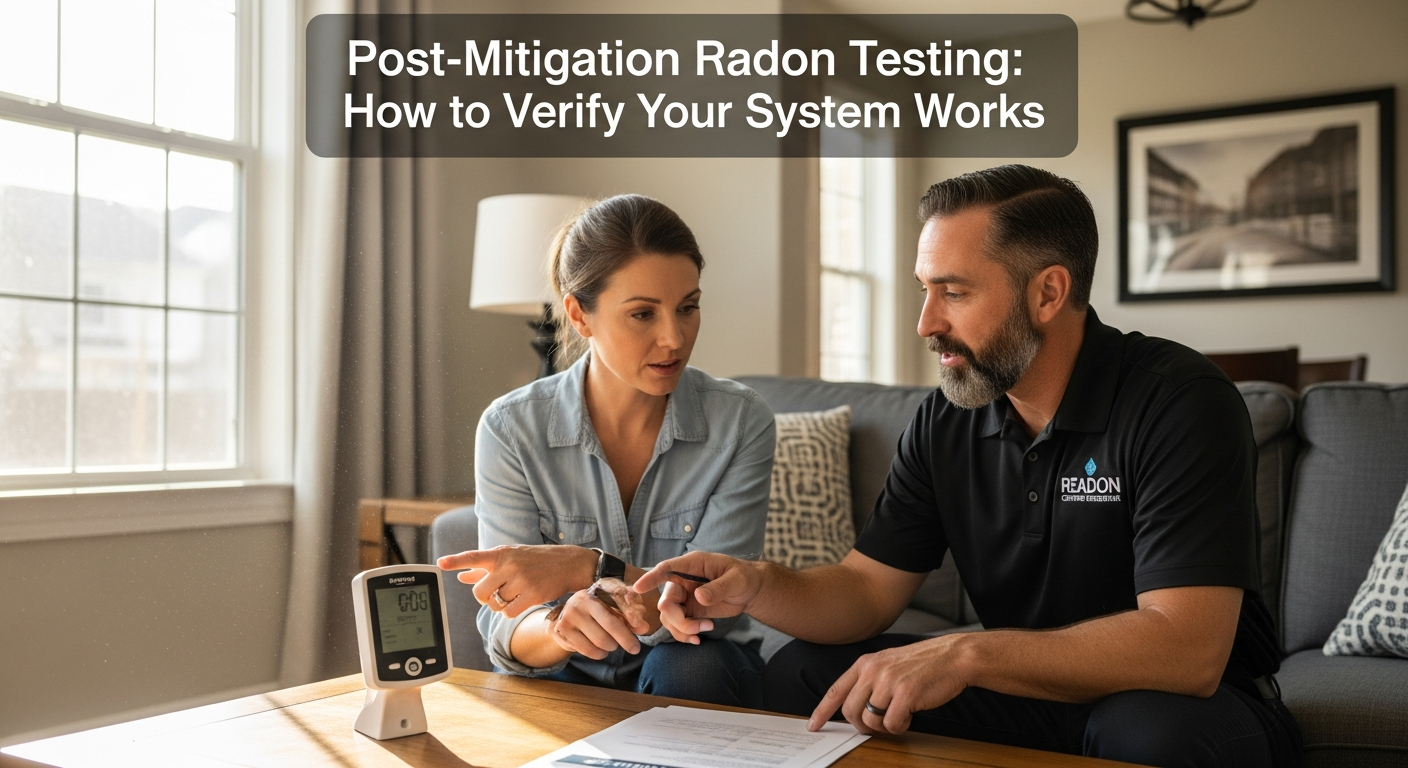
Post-mitigation radon testing — sometimes called "post-mit testing" or "confirmation testing" — is a radon measurement performed after a radon reduction system has been installed in a home. Its purpose is straightforward: verify that the system has reduced indoor radon concentrations to acceptable levels.
The U.S. Environmental Protection Agency (EPA) recommends taking action to reduce radon when indoor levels reach or exceed 4 picocuries per liter (pCi/L). For levels in the 2 to 4 pCi/L "consider action" zone, the EPA suggests homeowners think seriously about mitigation, since no level of radon exposure is truly safe.
A properly functioning mitigation system should bring levels well below 4 pCi/L — ideally as close to outdoor ambient levels (around 0.4 pCi/L) as practical. Post-mitigation testing is how you prove that goal was met.
Why It's Not Optional
Some homeowners assume that once a contractor installs a mitigation system, the job is done. This is a critical misunderstanding. Mitigation system performance depends on dozens of variables: soil permeability, foundation type, sealing quality, fan sizing, pipe routing, and even seasonal weather patterns. Two identical-looking houses on the same street can require very different mitigation approaches — and even a well-designed system can underperform if installation details aren't right.
Post-mitigation testing is the only objective way to confirm the system is doing its job.
When Should Post-Mitigation Testing Be Performed?
Timing matters. The EPA and the American Association of Radon Scientists and Technologists (AARST) provide clear guidelines on when post-mitigation testing should occur.
The 24-Hour Rule
After a radon mitigation system is installed and turned on, you must wait at least 24 hours before beginning a post-mitigation test. This waiting period allows the system to reach equilibrium — meaning the airflow patterns under the slab stabilize and indoor radon concentrations settle into their new, lower baseline.
Testing too soon can produce misleadingly high or low results that don't reflect how the system will actually perform day-to-day.
The 30-Day Window
Post-mitigation testing should be completed within 30 days of system activation. This window strikes the right balance: long enough for the system to stabilize, short enough that you can address any problems while the installation is still fresh and any warranty work can be performed easily.
Most certified mitigation professionals will either perform the post-mitigation test themselves or refer you to an independent certified tester.
Long-Term Re-Testing
Post-mitigation testing isn't a one-and-done affair. The EPA recommends retesting your home every two years to confirm the system continues to perform as designed. You should also retest:
- After any major renovation that affects the foundation, basement, or HVAC system
- After replacing the mitigation fan (typically every 5-10 years)
- If you notice the system manometer reading has changed significantly
- After significant ground disturbance near the foundation
- Before selling the home
Types of Post-Mitigation Tests
Not all radon tests are created equal, and the type of test used for post-mitigation verification matters. Here are the most common options.
Short-Term Tests (2-7 Days)
Short-term tests are the standard for post-mitigation verification. They give a reasonably accurate snapshot of radon levels in a relatively short window, allowing you to confirm system effectiveness quickly.
Common short-term test types include:
- Charcoal canisters — Passive devices that absorb radon over 2-7 days and are sent to a lab for analysis
- Alpha track detectors — Plastic film that records radon decay, though more commonly used for long-term tests
- Electret ion chambers — Devices that measure radon by detecting changes in electrical charge
- Continuous radon monitors (CRMs) — Electronic devices that take hourly readings and provide detailed data
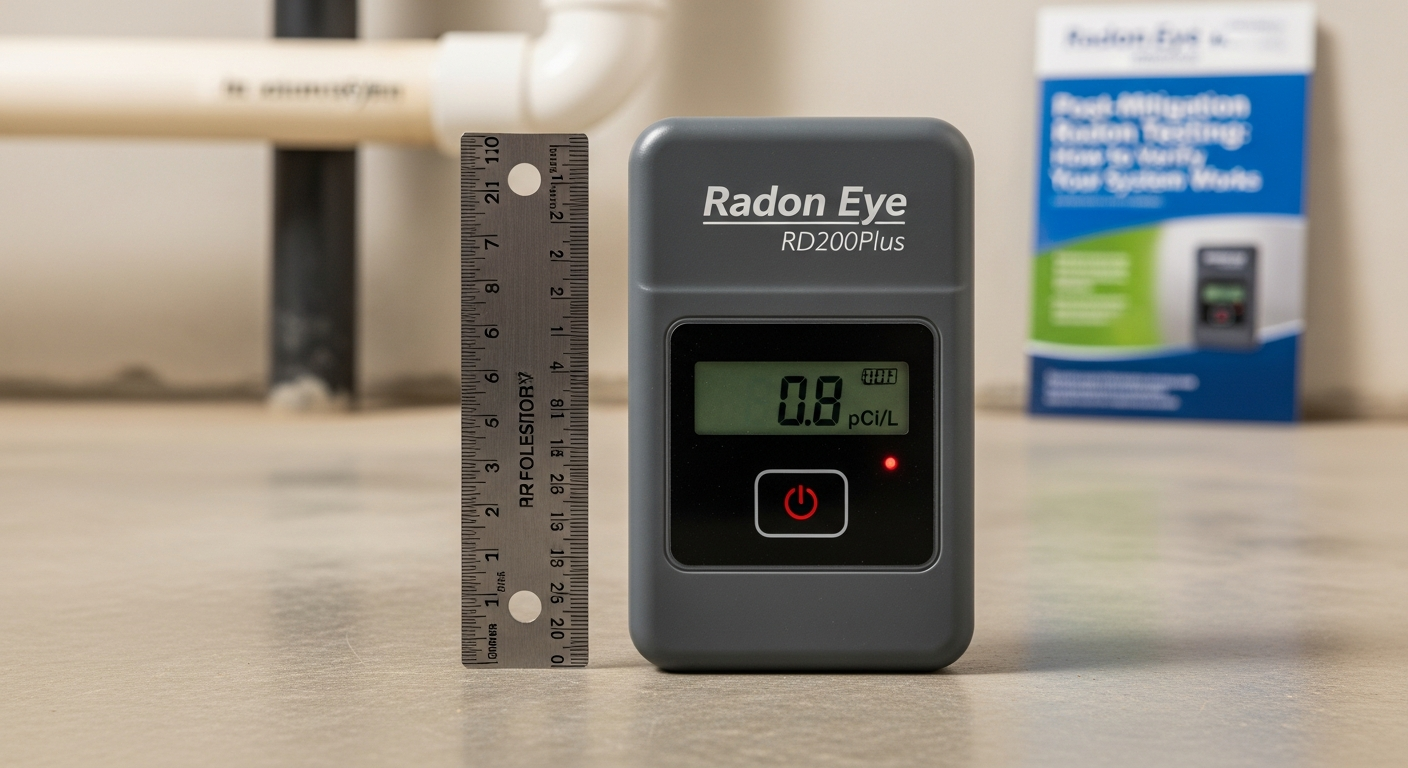
Continuous radon monitors are increasingly the preferred tool for post-mitigation testing because they provide hour-by-hour data, which can reveal whether the system is consistently effective or whether levels spike under certain conditions.
Long-Term Tests (90+ Days)
Long-term tests provide a more accurate annual average and can detect seasonal variations in radon levels. They're often used as a follow-up after initial post-mitigation confirmation, or as part of the every-two-years retesting cycle.

Closed-House Conditions: A Critical Requirement
For any post-mitigation test to be valid, the home must be kept under closed-house conditions for at least 12 hours before the test begins and throughout the entire testing period.
This means:
- Keep all windows closed (except for normal entry and exit)
- Keep all exterior doors closed except for brief entries and exits
- Don't operate whole-house fans, attic fans, or window air conditioners that draw in outside air
- Normal operation of central HVAC, including air conditioning with recirculated air, is acceptable
- Bathroom and kitchen exhaust fans should only be used briefly during normal activities
Why does this matter? Open windows and doors can artificially lower indoor radon readings by allowing outside air to dilute concentrations. A test conducted with the windows open might suggest your mitigation system is working when it actually isn't.
This is why DIY post-mitigation testing — while better than no testing at all — often produces unreliable results. Professional testers ensure proper conditions and follow strict protocols.
Where Should Post-Mitigation Tests Be Placed?
Test placement follows specific guidelines to ensure accurate, representative results.
The Lowest Livable Level
Post-mitigation tests should be conducted in the lowest lived-in level of the home. For most homes, this means:
- A finished basement that's used as living space (family room, bedroom, home office)
- The first floor if there's no basement or the basement is unfinished and unused
- A walkout basement if it's used regularly
If the test is being conducted as part of a real estate transaction, EPA real estate testing protocols typically require testing the lowest level that could be used as living space, even if it's not currently finished.
Specific Placement Rules
Within the testing room, the device should be:
- 20 inches to 6 feet above the floor
- At least 3 feet from exterior walls
- At least 1 foot from other objects
- At least 3 feet from windows, doors, and vents
- Away from areas of high humidity, drafts, or direct sunlight
Tests should not be placed in kitchens, bathrooms, laundry rooms, or closets — these locations can produce inaccurate readings due to humidity, temperature fluctuations, or lack of typical occupancy.
Who Should Conduct Your Post-Mitigation Test?
While homeowners can purchase DIY radon test kits at hardware stores, post-mitigation testing is one area where professional involvement provides significant value.
NRPP and NRSB Certification
In the United States, two organizations certify radon professionals:
- National Radon Proficiency Program (NRPP) — Administered by AARST
- National Radon Safety Board (NRSB) — An independent certification body
Both certifications require training, examinations, ongoing education, and adherence to strict measurement and quality assurance standards. Many states also require radon professionals to hold one of these certifications to operate legally.
When hiring a tester, you should:
- Verify certification through the NRPP or NRSB online directories
- Ask about device calibration — measurement devices must be calibrated at least annually
- Confirm independence — for post-mitigation tests, it's often best to use a tester who didn't install your mitigation system, providing an unbiased verification
- Request a detailed report that includes test conditions, device used, location, duration, and results
Why Independent Testing Matters
When the same company that installed your mitigation system also performs the post-mitigation test, there's an inherent conflict of interest. An independent NRPP or NRSB certified tester provides verification you can trust — especially valuable during real estate transactions or when investing significant money in a mitigation system.
Interpreting Your Post-Mitigation Results
Once you receive your test results, here's how to interpret them.
Below 2 pCi/L: Excellent
This is the gold standard for post-mitigation results. Your system is performing exceptionally well, bringing levels close to typical outdoor ambient concentrations. Continue routine retesting every two years.
2-4 pCi/L: Acceptable, but Worth Considering Improvement
While this range is below the EPA action level, the agency notes that the risk isn't zero. If your levels fall here, your system is functioning, but you might discuss with your contractor whether modifications could push levels lower. Considerations include:
- Adjusting fan capacity
- Additional sealing of foundation penetrations
- Adding additional suction points
Above 4 pCi/L: System Is Not Performing Adequately
This is the result no one wants to see, but it does happen. If post-mitigation testing shows levels at or above 4 pCi/L, your mitigation system isn't doing its job. Common causes include:
- Undersized or improperly placed fan
- Inadequate sealing of cracks, sump pits, or other foundation penetrations
- Multiple foundation types (e.g., slab plus crawlspace) requiring additional suction points
- Improperly installed system components
- Fan failure (check the manometer)
A reputable mitigation contractor should address performance issues at no additional cost if the system was guaranteed to bring levels below 4 pCi/L. This is one reason why getting written performance guarantees in writing before installation is important.
Post-Mitigation Testing in Real Estate Transactions
If you're buying or selling a home with a recently installed radon mitigation system, post-mitigation testing takes on additional importance.
For Home Buyers
If the home you're purchasing has a mitigation system installed, don't simply accept the seller's word that it works. Request:
- Documentation of the original radon test that triggered mitigation
- Installation paperwork showing who installed the system and when
- Most recent post-mitigation test results
- Documentation of any system maintenance or fan replacements
If documentation is missing or more than two years old, request an independent post-mitigation test as a contingency of purchase. The cost is modest — typically $150-$300 for a professional short-term test — and the peace of mind is substantial.
For Home Sellers
Sellers who can provide recent post-mitigation test results below 2 pCi/L have a significant advantage. Documentation showing a properly functioning mitigation system removes uncertainty for buyers and can prevent last-minute negotiation complications.
If your post-mitigation test results are older than two years, consider scheduling a new test before listing your home.
Common Mistakes to Avoid
Even well-intentioned homeowners can undermine their post-mitigation testing. Here are pitfalls to avoid:
- Testing too soon after installation — Wait the full 24 hours minimum
- Failing to maintain closed-house conditions — Even a few hours of open windows can skew results
- Placing the test in the wrong location — Kitchens, bathrooms, and high-traffic entryways are not appropriate
- Using expired or improperly stored test kits — Charcoal canisters have shelf lives
- Not verifying lab certification — DIY test results should come from a lab certified to perform radon analysis
- Skipping retesting — A single post-mitigation test confirms the system worked when it was installed, not that it's still working years later
- Ignoring the system manometer — This simple U-tube gauge tells you at a glance whether your fan is operating properly
Maintaining Your Mitigation System Over Time
Post-mitigation testing is part of a broader maintenance practice. To keep your system performing:
- Check the manometer monthly — Note the reading; significant changes can indicate fan problems or blockages
- Inspect the system visually — Look for cracks in piping, loose fittings, or signs of damage
- Replace the fan as recommended — Most mitigation fans last 5-10 years and should be replaced proactively
- Keep records — Maintain a folder with installation paperwork, all post-mitigation and retest results, and any maintenance documentation
- Schedule biennial testing — Set a calendar reminder for retesting every two years
The Bottom Line
Post-mitigation radon testing is the crucial final step in protecting your home from radon exposure. Without it, you have no way to know whether the money and effort invested in mitigation actually achieved its goal. With it, you have documented, professional verification that your family is breathing safer air.
The process is straightforward: wait 24 hours after system activation, maintain closed-house conditions, place a properly calibrated device in the correct location, and have results analyzed by a certified lab. Whether you're a homeowner confirming a new installation, a home buyer doing due diligence, or a homeowner due for biennial retesting, finding a qualified professional is the most important step.
Find a Certified Radon Tester Near You
Post-mitigation radon testing is too important to leave to chance. Whether you've just had a mitigation system installed, are buying a home with existing mitigation, or are due for biennial retesting, working with an NRPP or NRSB certified professional ensures you get accurate, reliable results you can trust.
Find a certified radon tester in your area on FindRadonTesters.com — Our directory connects you with licensed, certified radon professionals who can perform post-mitigation testing, long-term monitoring, and follow-up verification to keep your home safe for years to come.
Don't assume your mitigation system is working. Verify it with a professional post-mitigation test today.